In CS classes, we often use computational notebooks (e.g., Google Colab) to provide interactive learning experiences to implement and test algorithms. These notebooks are interactive, allowing students to run code snippets and see the results immediately. However, these notebooks are not accessible to screen reader users (at least for now). This section shows you how to make computational notebooks accessible.
To make Colab assignments more accessible, you should:
- Organize your computational notebook with clear divisions.
- Set up a shared server environment and test it.
Organize your computational notebook
Organizing your Colab activity with clear divisions is helpful for all students to make sense of the notebook and is especially helpful in preparing accessible content. This section provides an example of how to do that.
1. Check the table of contents.
On your Colab left bar, make sure each section has a clear title and description.
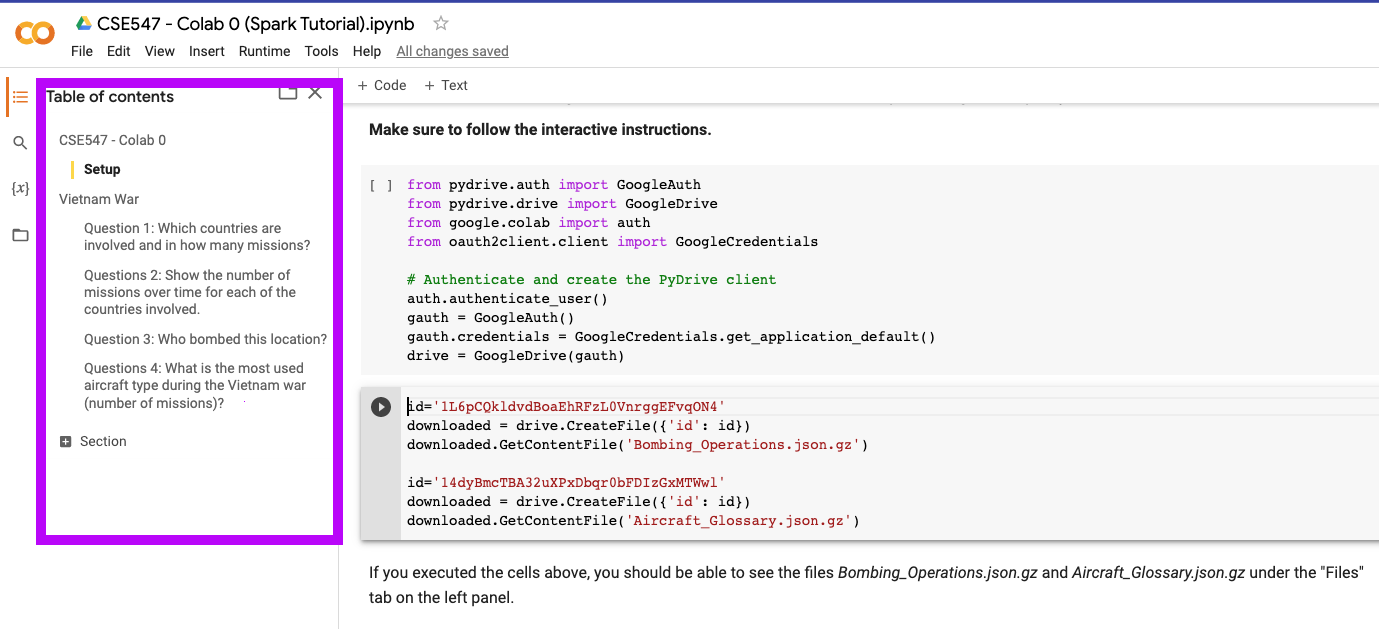
2. Divide the Colab document into separate Python scripts.
Migrate the sections into separate Python scripts. The goal here is that screen reader users can work on the modular script for each section.
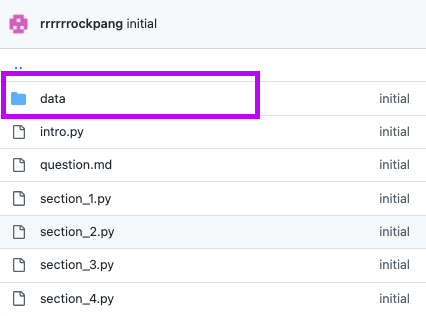
You might realize that we created a separate
datafolder in the GitHub directory compared todrive = GoogleDrive(gauth), which is unique to Google Colab.
- Make sure you share your data file (e.g., Google Drive) so that everyone can have access to it.
- Keep this separate folder up-to-date or regenerate it just before assignment release. Small errors can creep in and cause major problems for students when you have parallel versions of an assignment that diverge, with a bug being fixed in one but not the other, for example.
3. Run the notebook to make sure everything works.
Always run the notebook before releasing the homework. Also, host your notebook in a shared environment that can be tested by the course staff ahead of time since library incompatibilities can present significant barriers to students.
Set up your server environment
Host your Colab notebook as Python scripts. The students can work on a server (e.g., CSE servers like attu1) or locally. We recommend a shared environment that can be tested by the course staff ahead of time since library incompatibilities can present significant barriers to students.
Working outside of interactive notebook environments means that students with visual impairment need to re-run entire programs rather than just single snippets/cells. This can take substantially more time, especially when the program is slow (e.g., ML on larger datasets).
This section shows you how to set up your server environment using the CSE server as an example.
1. Contact IT Support
At UW in the Allen School, this means contacting support@cs.washington.edu to create a folder in attu1 and add r/w permissions to the students based on their NetID. You can set up your homework/Colab code there. The students can also work on them there. Don’t use UW cycle servers; you will run into permission issues.
IT support at UW
Sometimes, attu1 can be slow. Please contact IT support to set up a new server (e.g., AWS, Google Cloud) if you need a more stable server for class purposes.
2. Once you have the folder set up, git clone your homework/Colab code there.
We recommend creating a requirements.txt file ahead of time and then installing the packages using a virtual environment on the server. An example of how to set up the virtual environment:
# create the virtual environment
python3 -m venv venv

# activate the environment
source .venv/bin/activate

# generate the requirements.txt
pip freeze > requirements.txt

# install the necessary packages
pip install -r requirements.txt

# deactivate the environment
deactivate
Do also review the Python packaging user guide for setting up the environment and libraries.
Additional resources
- Checklist: authoring and publishing notebooks in HTML – includes suggestions that could be helpful when providing the notebook as a python script.
- Notebook percent format documentation – an accessible notebook format that is recognized by VSCode.
- Configuration setup to pair a notebook and its script representation tutorial.
- Notebook accessibility tutorial on YouTube.